Appendix A
Creating a Hyperbolic Surface
- Print out the page of curvilinear
triangles.
- Make as many copies of the triangle sheets as necessary. Each group of students will need at least 35 triangles to make their sheets.
- Cut out each triangle.
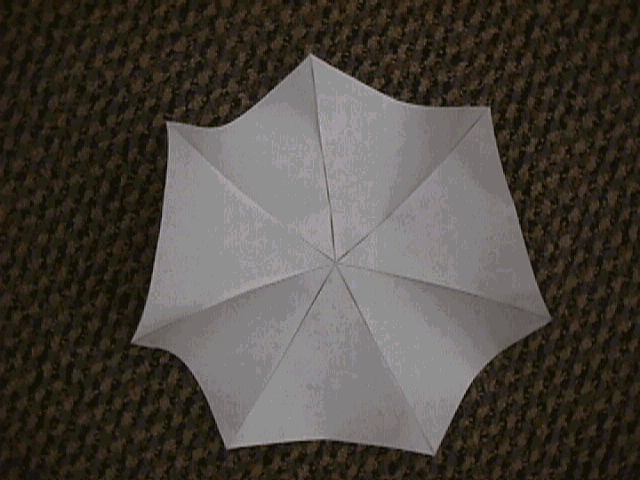
- Tape 7 of these triangles together around one vertex. Note this model will NOT lay flat. At this stage, it should look like this:

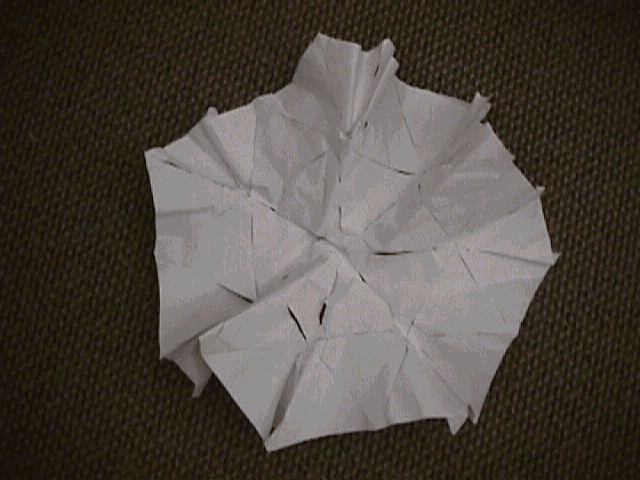
- Continue taping more triangles together until you have seven triangles around each of the seven triangles from step 4. At this stage , it should look like this:

- As you will notice, the triangles have curved sides. When they are taped together seven to each vertex they form a model of hyperbolic geometry.
- You may also choose to make this surface out of a more durable material such a cloth or clay. Use the curvilinear triangle found above to make a template to cut your material. Then sew or mold as appropriate. Some art supply companies make products that you can mold wet and which then harden to form a dry foam rubber like substance. These products work particularly well for this activity.
This site currently under
construction to become 508 compliant.


